Shopify
Clear Gate has partnered with Shopify to allow businesses to easily accept payments easily through Clear Gate's supported payment methods, such as credit cards, bank transfers, e-wallets, prepaid methods and cash payments.
Step 1: Set up your shop
- In order to use Clear Gate for Shopify, you need to have an active Shopify account. If you do not have one, please create an account
- You can start setting up your shop using the instructions from Shopify's getting started tutorial
Step 2: Install the Clear Gate App for Shopify
- Use the following link to initiate the installation: INSTALL CLEAR GATE
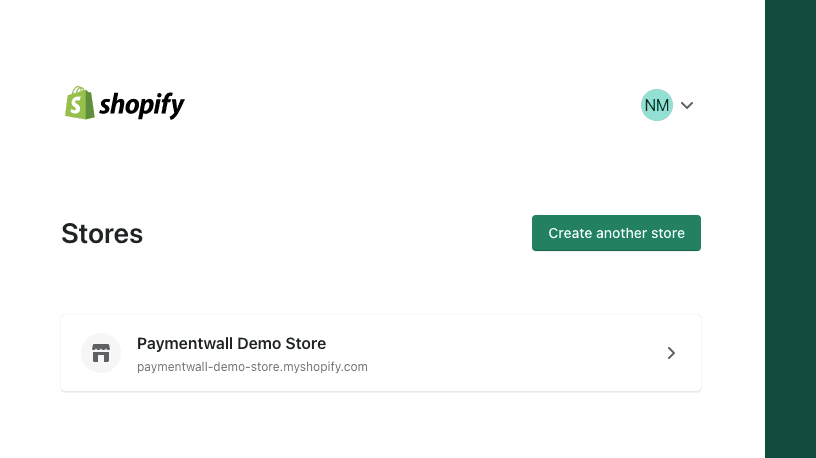
- Select the store where you would like to use Clear Gate
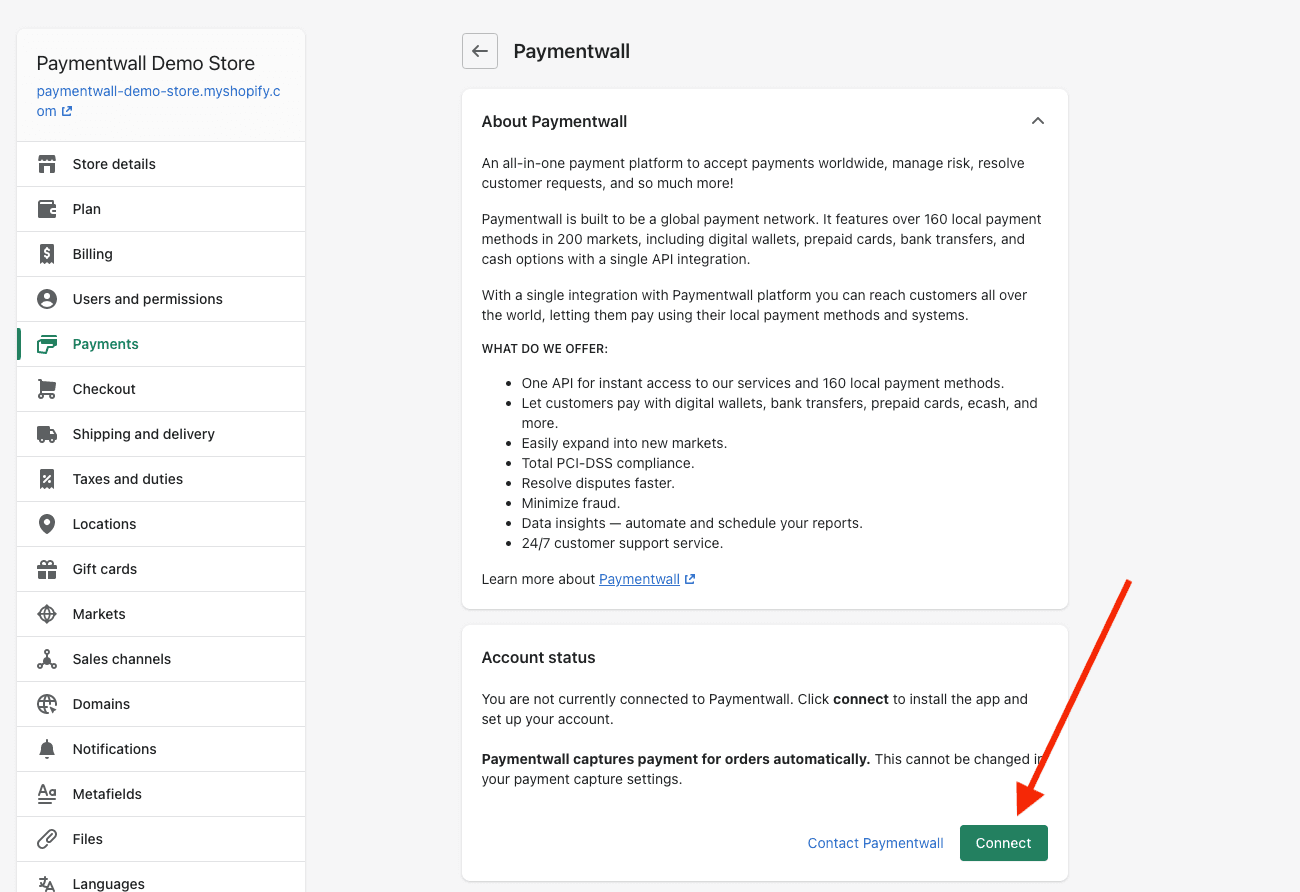
- When the page with the app description is loaded - click Connect
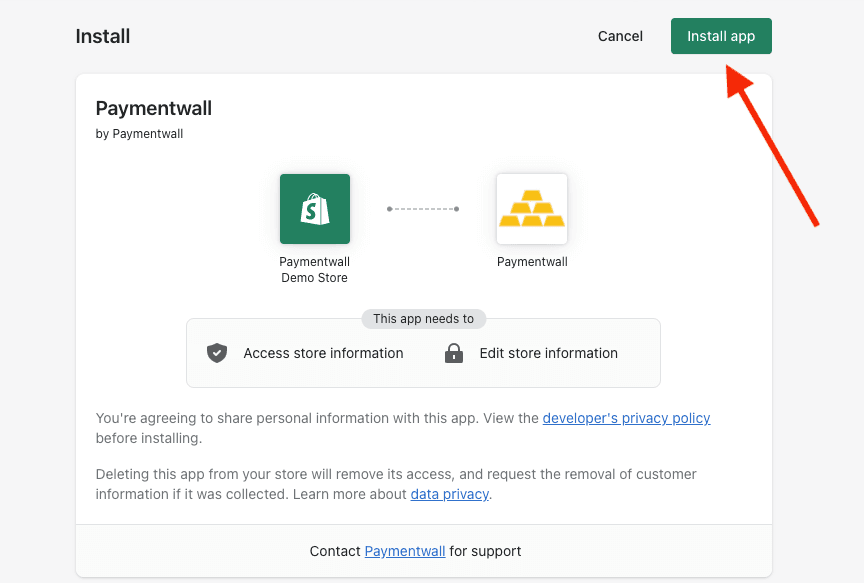
- On the next page click Install app
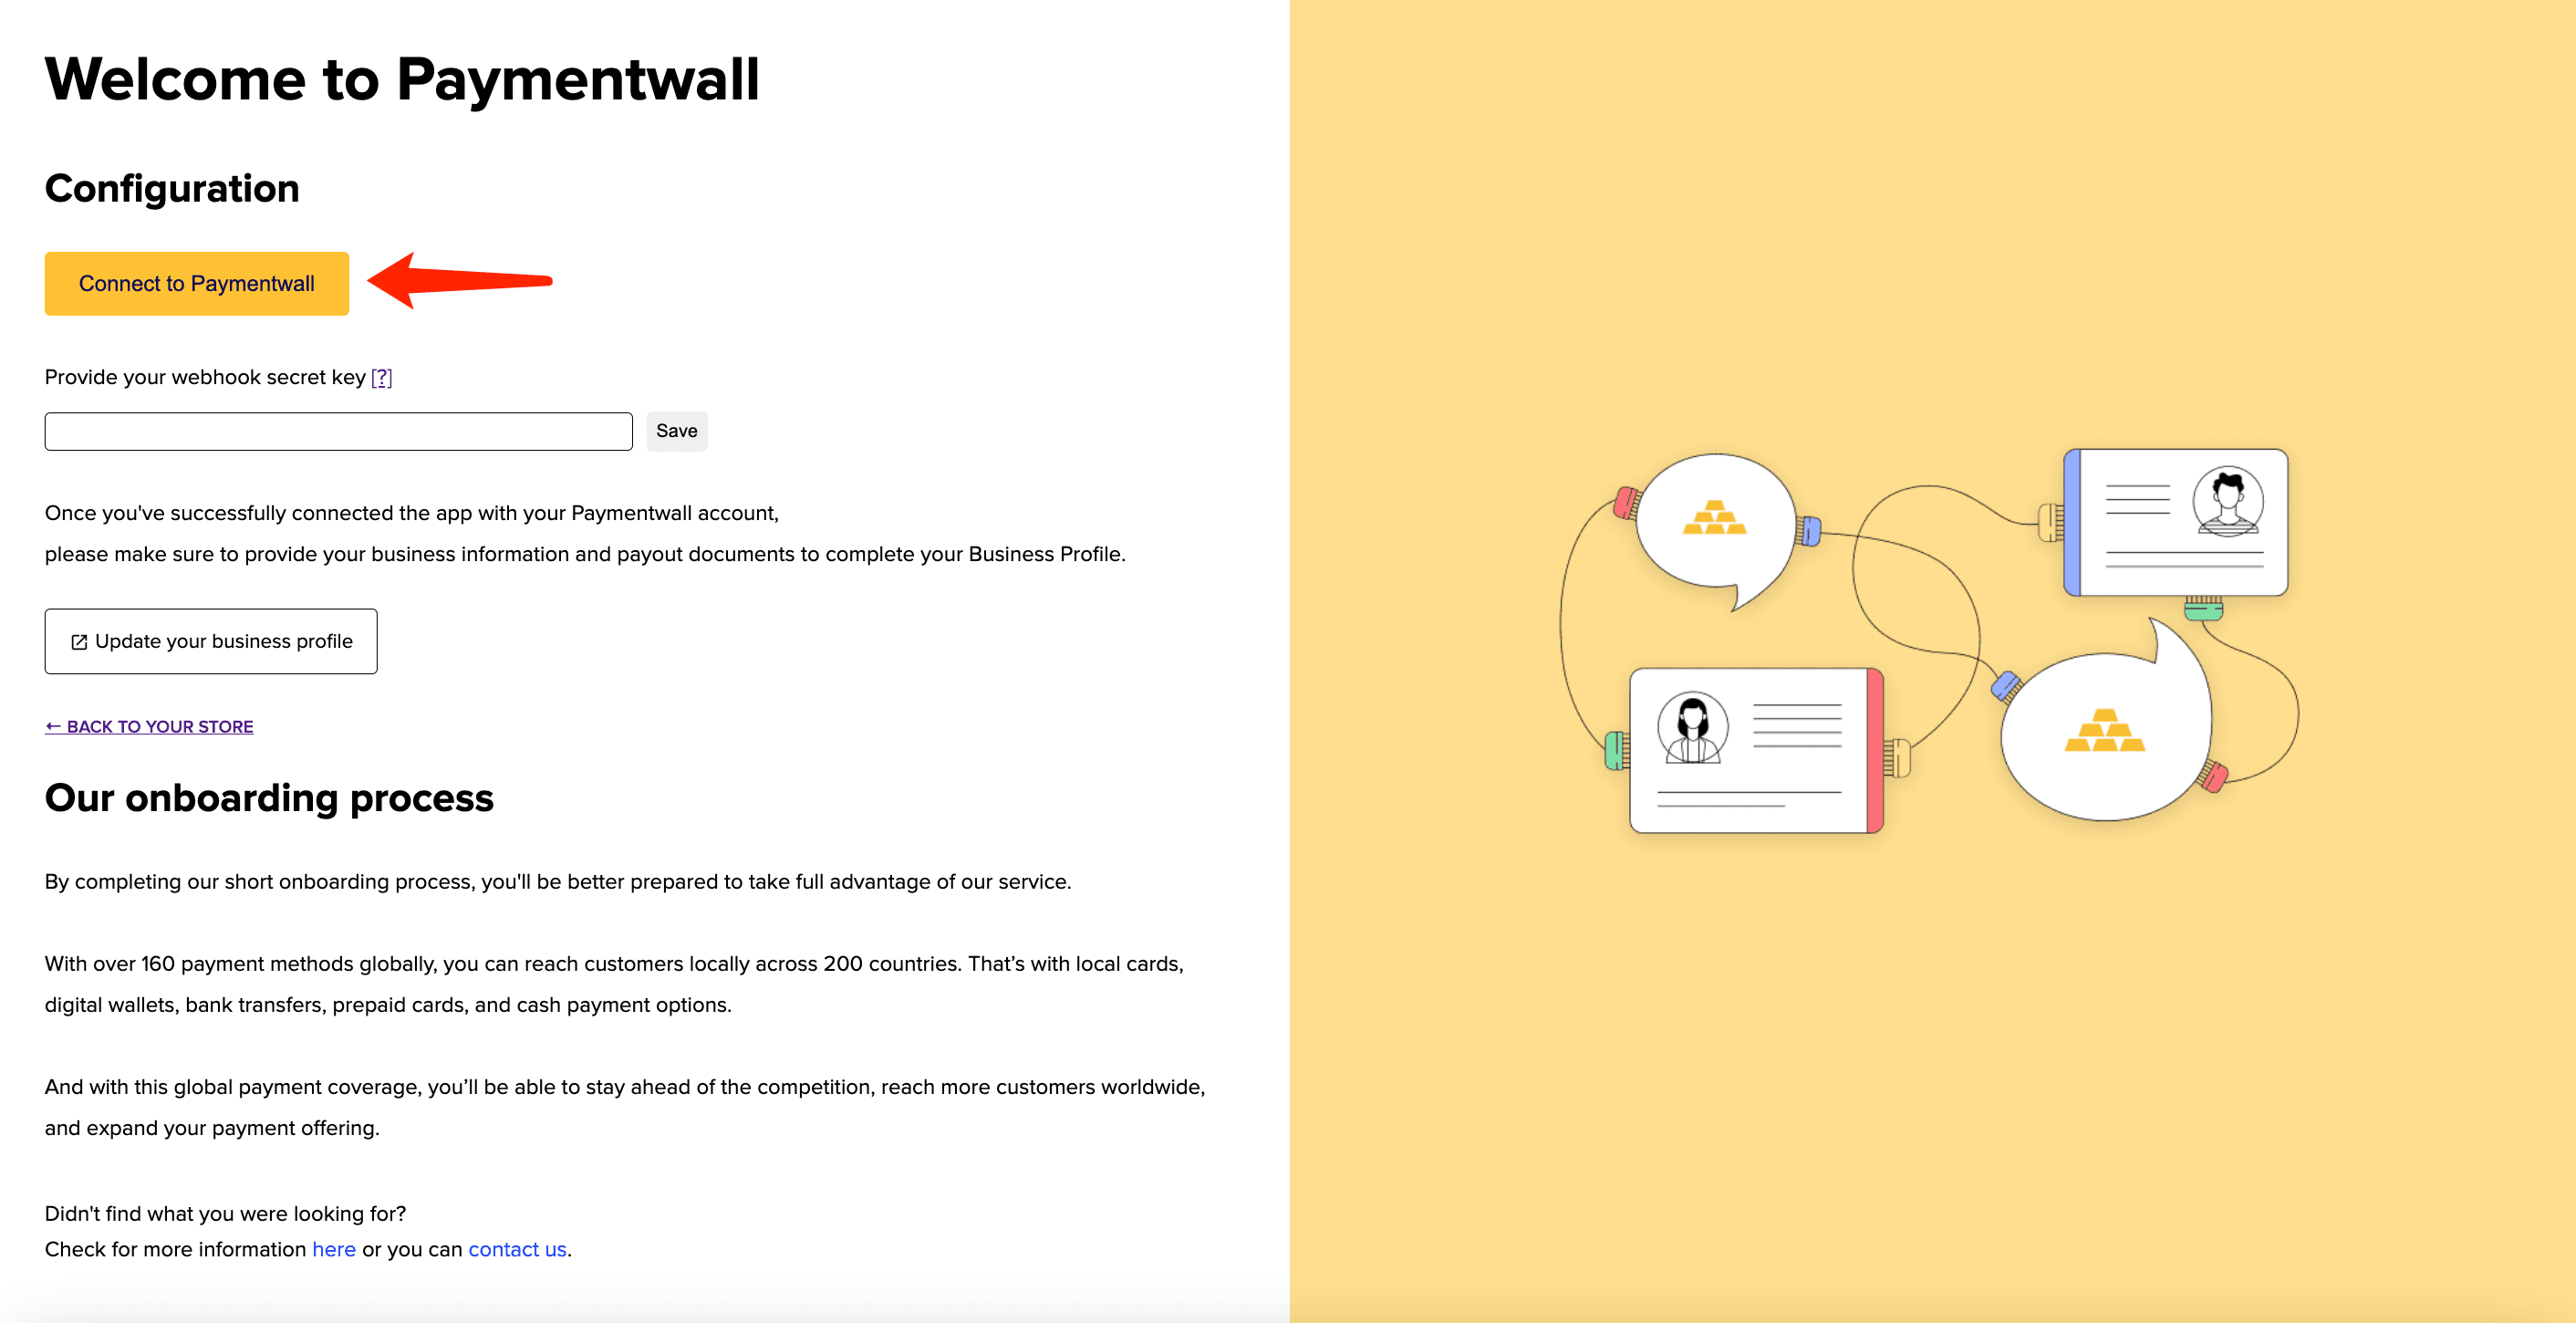
- You will be redirected to the Clear Gate App page. Click Connect to Clear Gate
- On the next page, please login if you already have a Clear Gate account or sign up for a new account if you do not have it yet.
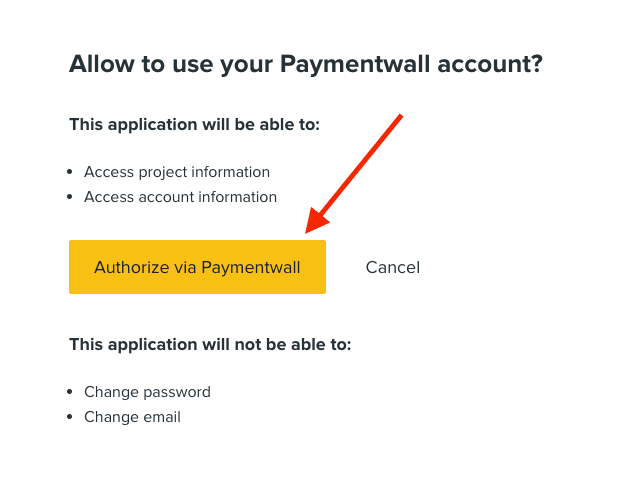
- You will be asked to grant access for the App to your Clear Gate account data. Click Authorize via Clear Gate
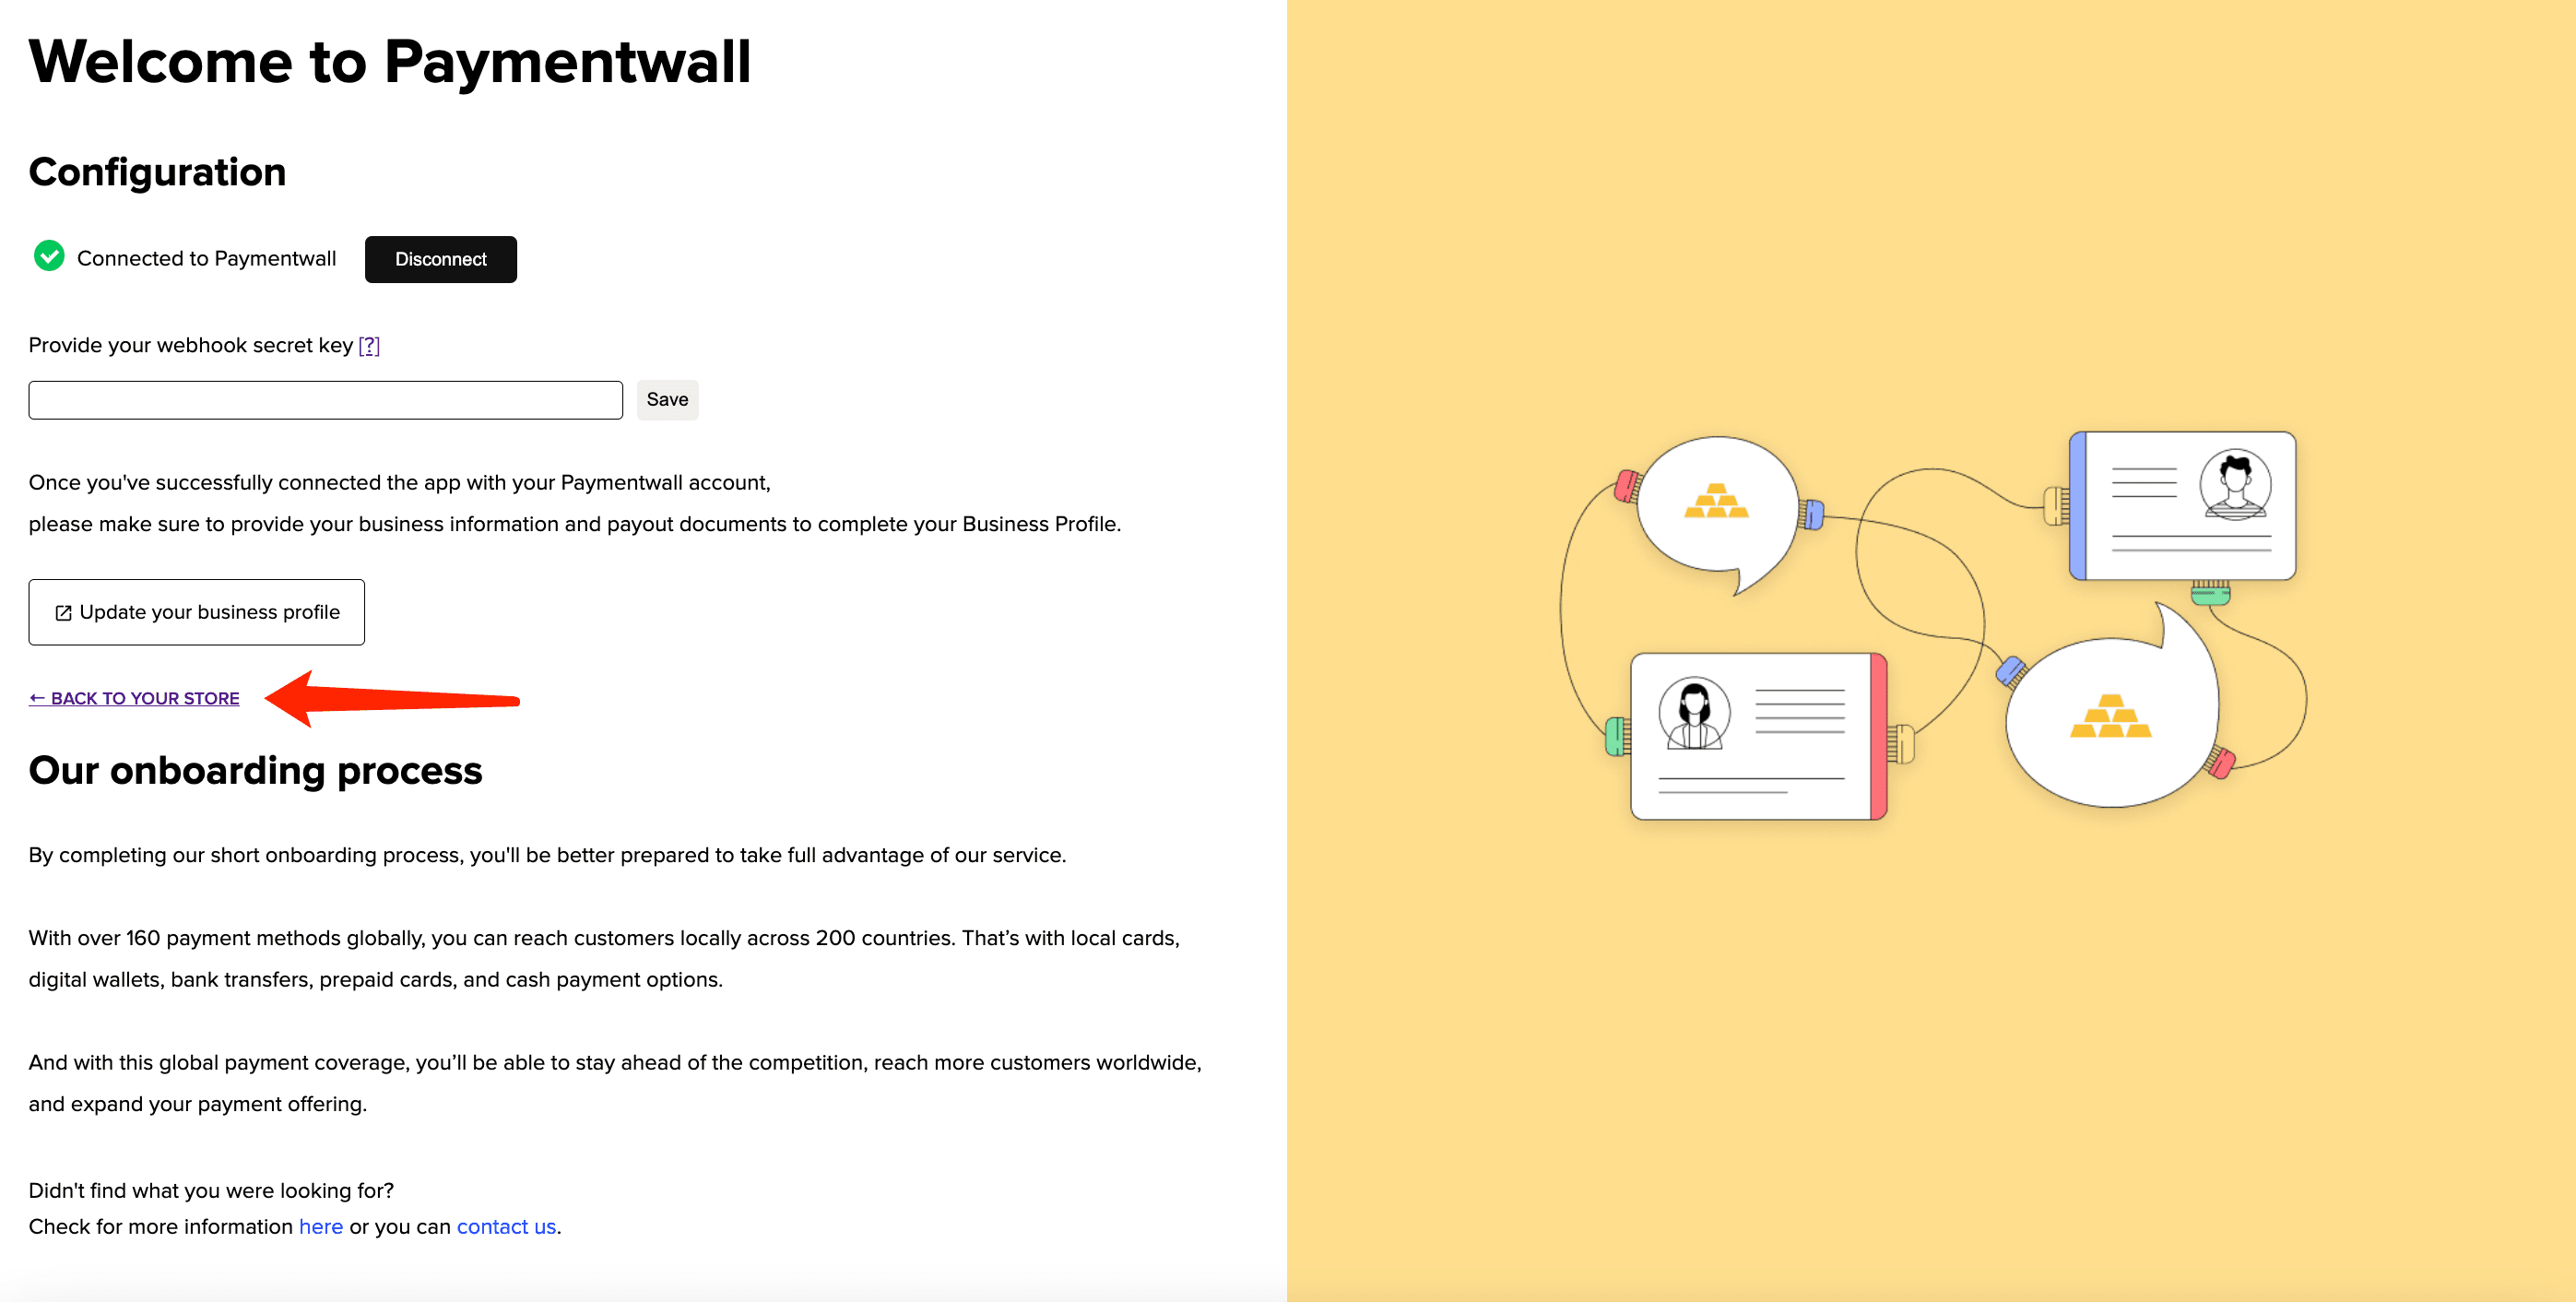
- You will be redirected back to the Clear Gate App page. Click Back to your store link
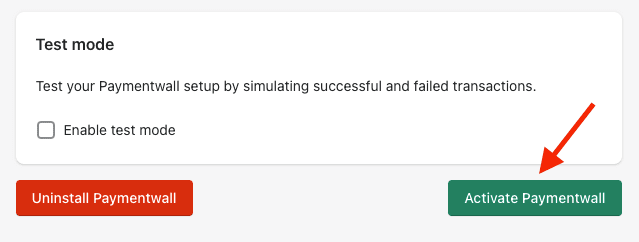
- Scroll down and click Activate Clear Gate
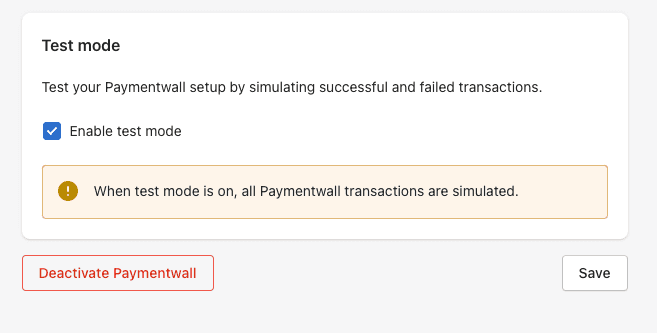
Recommended step: If you need to test your integration before you start accepting real payments - check Enable test mode checkbox and click Save
Step 3: Configure Delivery Confirmation
Delivery Confirmation API allows you to notify Clear Gate about successful delivery of the purchased item(s) to the user. This information helps us resolve dispute cases and refund requests in the fastest and the most efficient manner.
Follow this guide to integrate the Delivery Confirmation:
Step 4: Let's Go Live!
You can start to test payments of your projects.
Once you make sure everything works smoothly, please submit your project to go live.
Support
Clear Gate provides support for all up-to-date Shopify API versions.
The list of available Payment Methods can be discovered here.
Contact integration@cleargatefinance.com if you have any problems with your Shopify integration.